R is for Rabbit
Happy day after Easter! I have one more Easter project to share today then I’m done!
This is a classic Easter craft that I’ve doing since I was a kid.
Wash rag Rabbits! (Or bunnies if you prefer)
Materials:
White wash rags (for more than one you can buy a multi-pack)
Rubber bands
Cotton balls
Glue
Stuff for the rabbits face marker, wiggle eyes etc
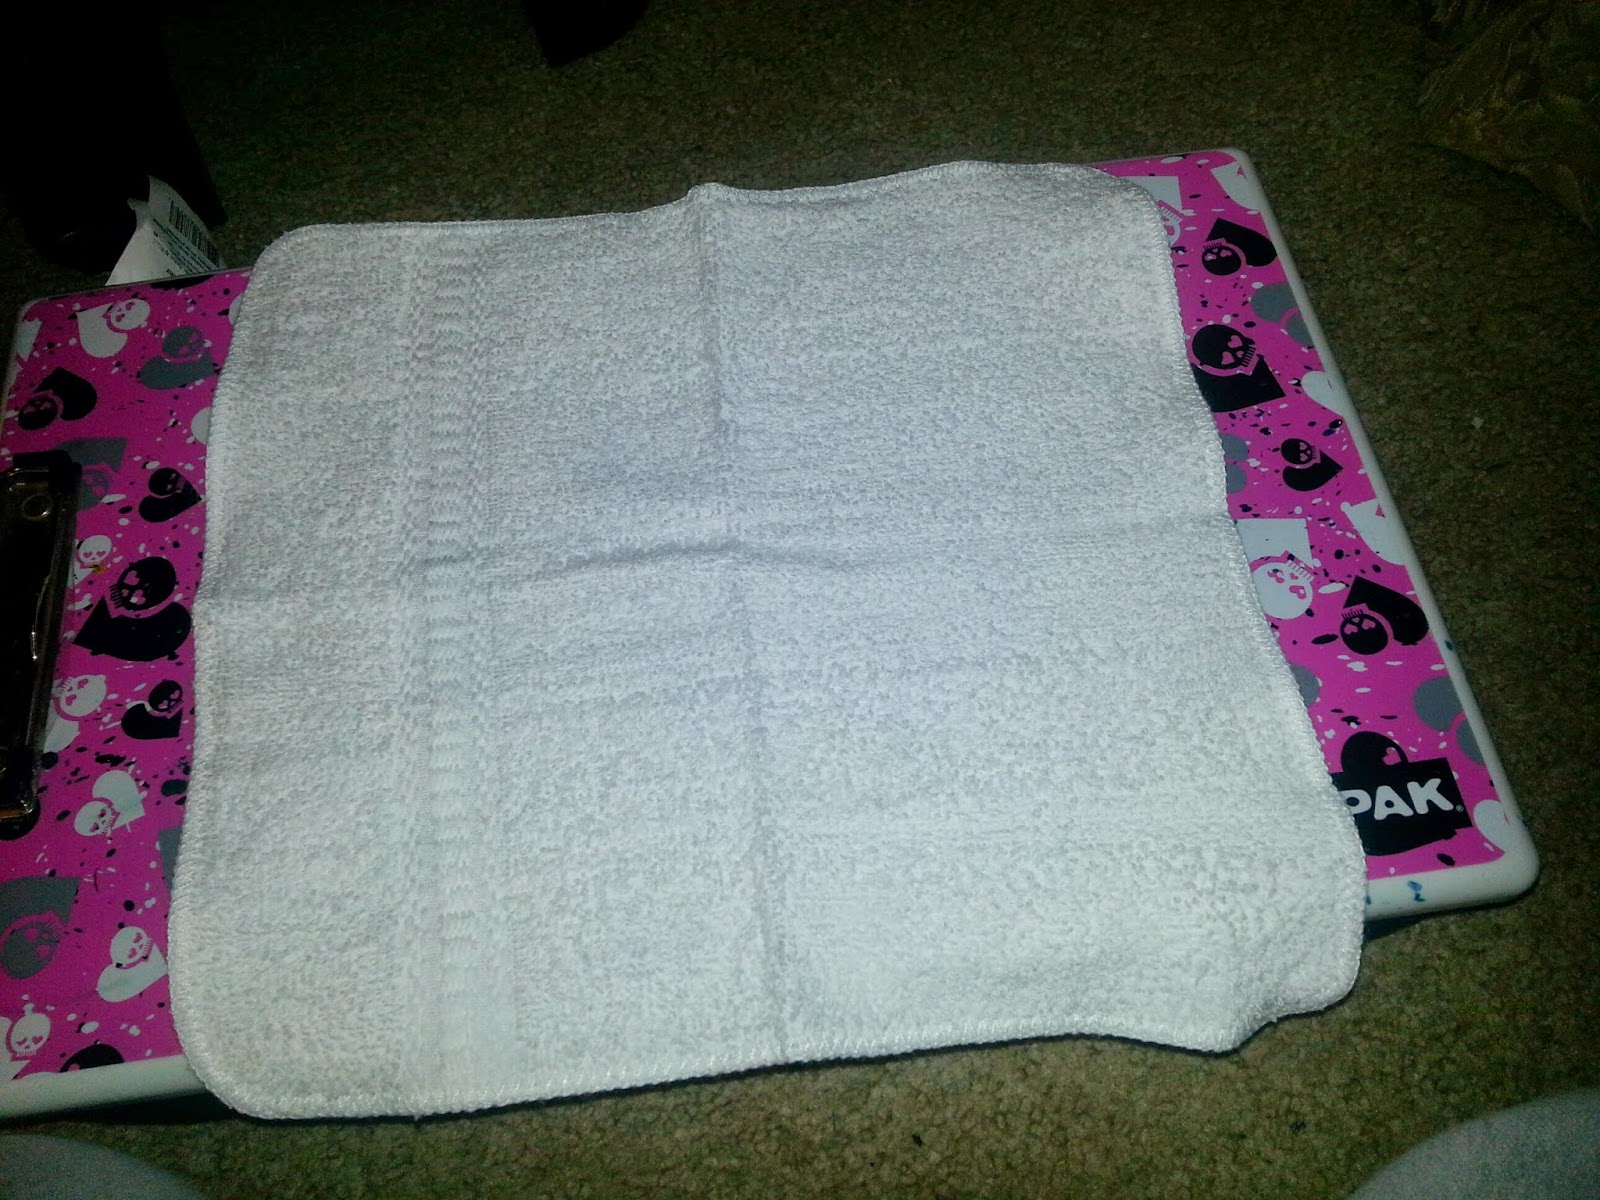
Start out with your wash rag flat:
Next you will roll corner to corner:
Bunch together to create the shape of the rabbit:
Now you bunch together to create the face of your rabbit use a rubber to hold together. (I actually didn’t have any rubber bands available so I used a hair tie)
You now make a face for your rabbit I used Tulip paint I didn’t realize I had wiggle eyes until after the fact and I used a button for the nose be creative:
Turn your rabbit over and add a cotton ball on the back:
After dry time your rabbit is ready to go! You can put goodies in the center like I put some Hello Kitty Nail Polish in mine:
See you tomorrow!


Comments
Post a Comment
I love comments!